Analyze Java With SonarQube and SonarScanner
Analyze Java with SonarQube And SonarScanner
Reference:
- https://blog.csdn.net/nikeylee/article/details/117367744
- https://blog.csdn.net/nikeylee/article/details/117412832
“SonarQube is a self-managed, automatic code review tool that systematically helps you deliver clean code.”
Step.1 Preparation
We need SonarQube, SonarScanner for core feature, and PostgreSQL as database. Besides, it requires Java JDK 11.
1.1 SonarQube & SonarScanner
- Download SonarQube 9.8.0.63668 to
E:\Gadgets\Sonar\SonarQube\ - Download SonarScanner 4.7.0.2747 to
E:\Gadgets\Sonar\SonarScanner\
Then, you have to add SonarScanner to system environment variables.
Add SONAR_SCANNER_HOME = E:/Gadgets/Sonar/SonarScanner/ to system environment variables. Then add %SONAR_SCANNER_HOME%\bin to Path.
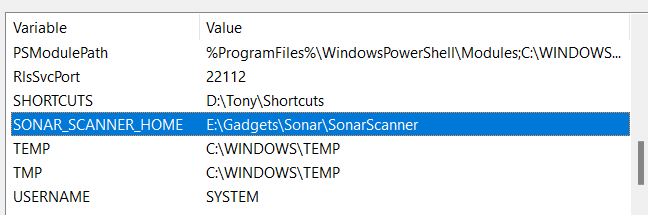
Use
sysdm.cplto reduce clicks.
1.2 PostgreSQL
For more information, check https://blog.csdn.net/nikeylee/article/details/117412832.
Saving your password somewhere is strongly recommended.
1.2.1 Download
Download PostgreSQL to
E:\Database\PostgreSQL\Download pgAdmin to
E:\Database\PostgreSQL\pgAdmin\Actually, pgAdmin is included in PostgreSQL installation, just located in
E:\Database\PostgreSQL\pgAdmin 4. Download only if missing.
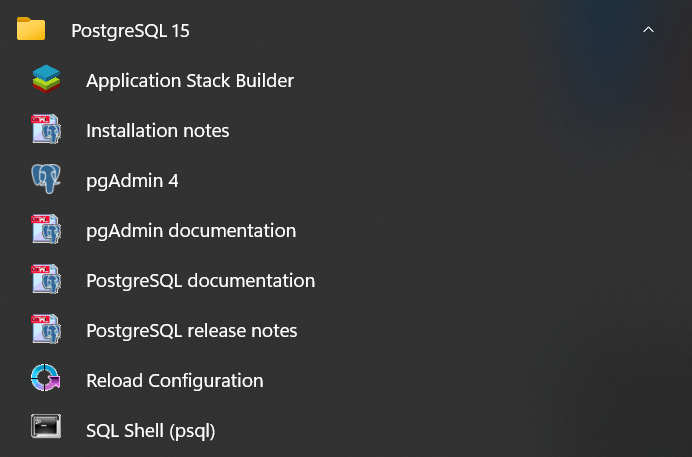
Install PostgreSQL, and remember the password of super user postgres. Other configurations could just be default. At last, you can choose not to launch Stack Builder. After this, you will see a start menu folder. (It doesn’t appear in Recommended.)
After installation, a restart is required, or the port won’t be available even if the service is running!
1.2.2 Start Service
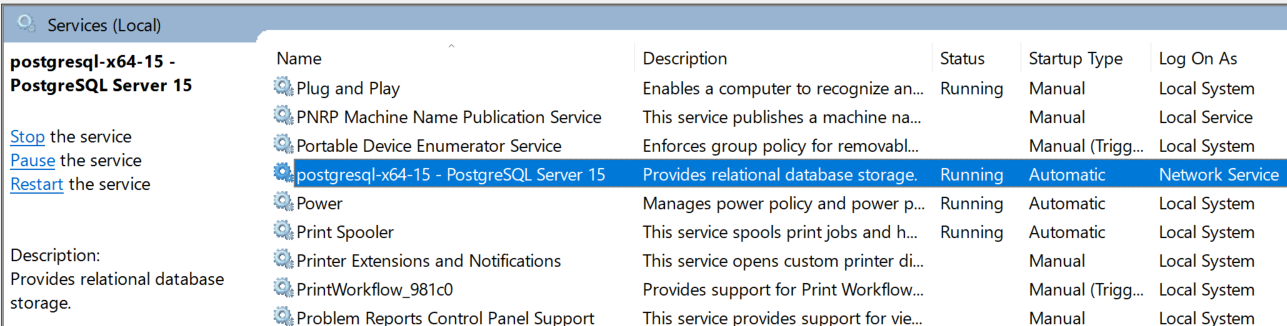
After installation and restart, the service should have started with the system. It is called postgresql-x64-15 and you can check this in services.msc. Its status should be running.
However, if PostgreSQL service does not start after restart, go to E:\Database\PostgreSQL\bin and use this command to start it.
1 | pg_ctl start -D "E:\Database\PostgreSQL\data" -w |
If it succeeds, you will see the output below. (I wonder why it is Chinese…)
1 | 等待服务器进程启动 ....2023-01-06 17:35:56.398 CST [21456] LOG: redirecting log output to logging collector process |
1.2.3 Configure Database
You can just select the same options as I do. It works.
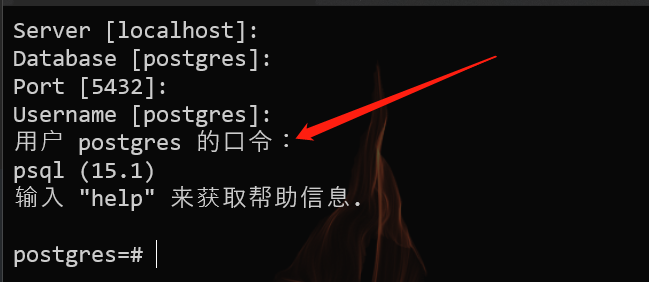
1.2.3.1 Connect Service
Open SQLShell you got in [1.2.1](1.2.1 Download), a.k.a psql, you only need to enter the password (It is hidden like Linux). as for the other four, just press Enter and continue. After this, you are connected to the service.
1.2.3.2 Add New Server
Now, open pgAdmin 4 you got in 1.2.1. Here, you need a master password, and then, click Add New Server in the Dashboard to add a new one. You can just fill the first two, and neglect the others.

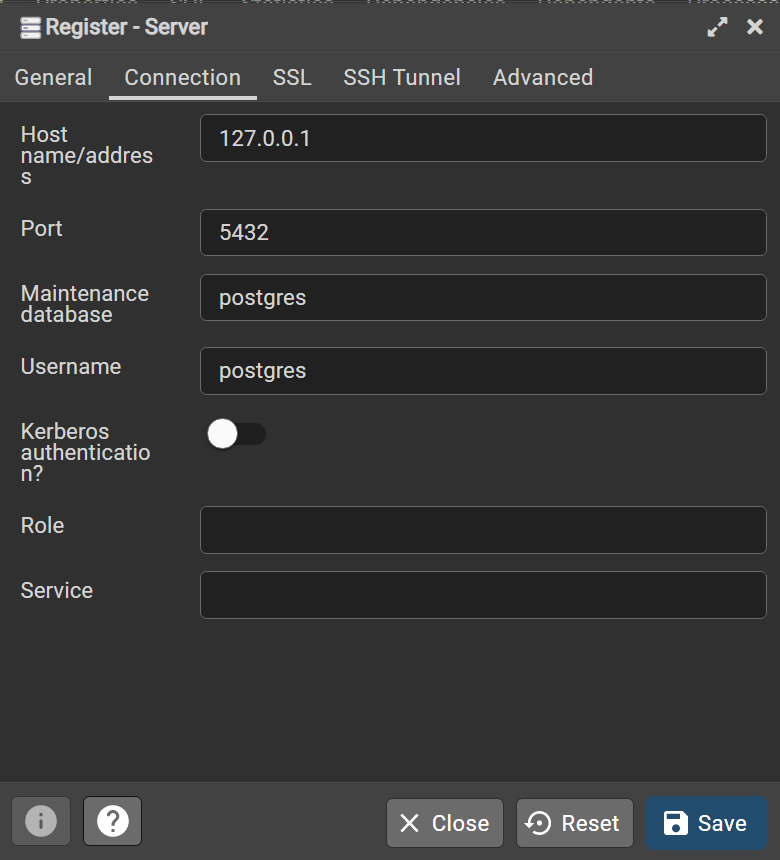
Kerberos is a security protocol for authentication. Just leave it alone. FYI: What is Kerberos.
PS: You can always get help with the question mark below.
Then, click the data base you just added on the left. After entering your password, you are finally in the database!
If there is anything wrong, please check if the [service](1.2.2 Start Service) is started or not.
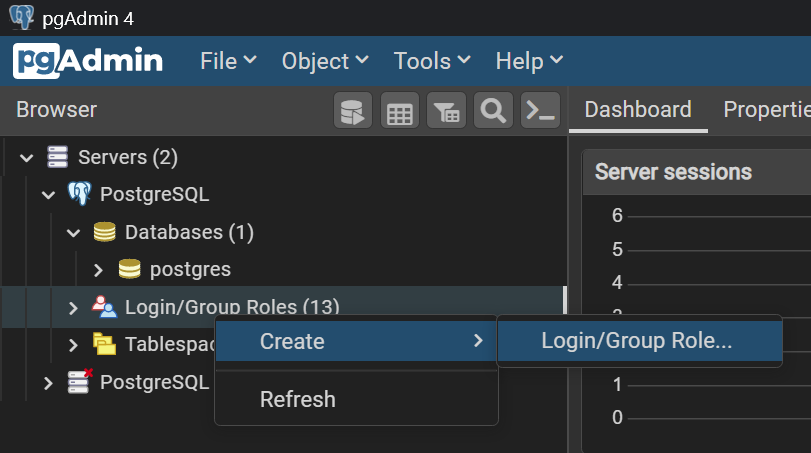
1.2.3.3 Create New User
On the left side, right click on Login/Group Roles, then create a new role.
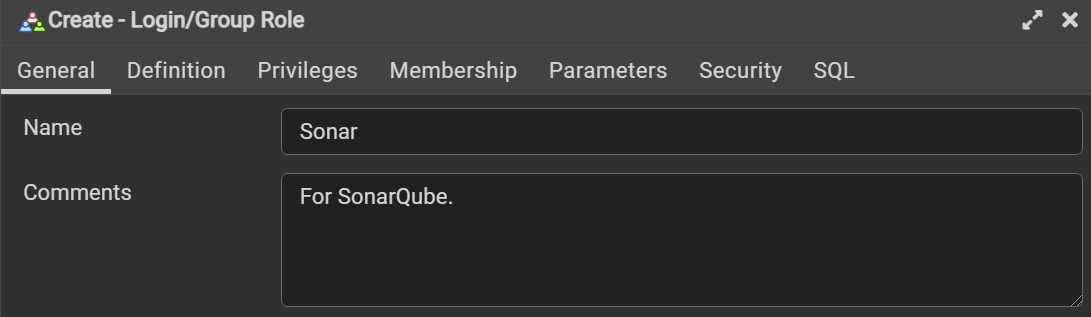
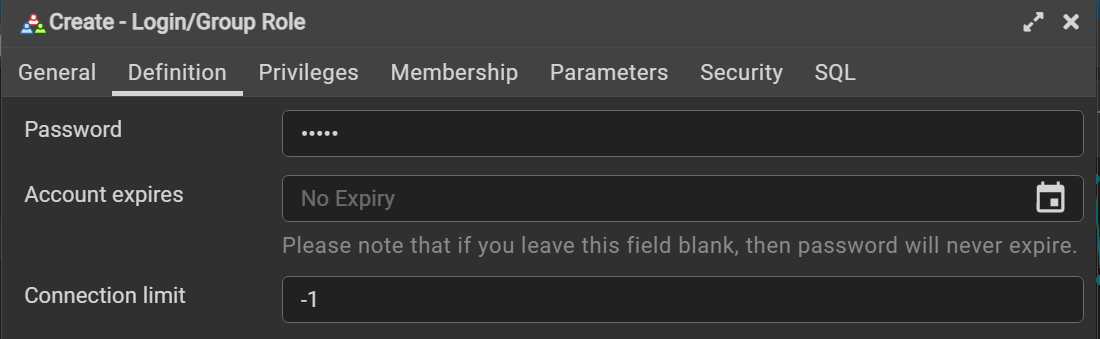
Connection limit -1 means unlimited.

Now, click Save, and a new role is created.
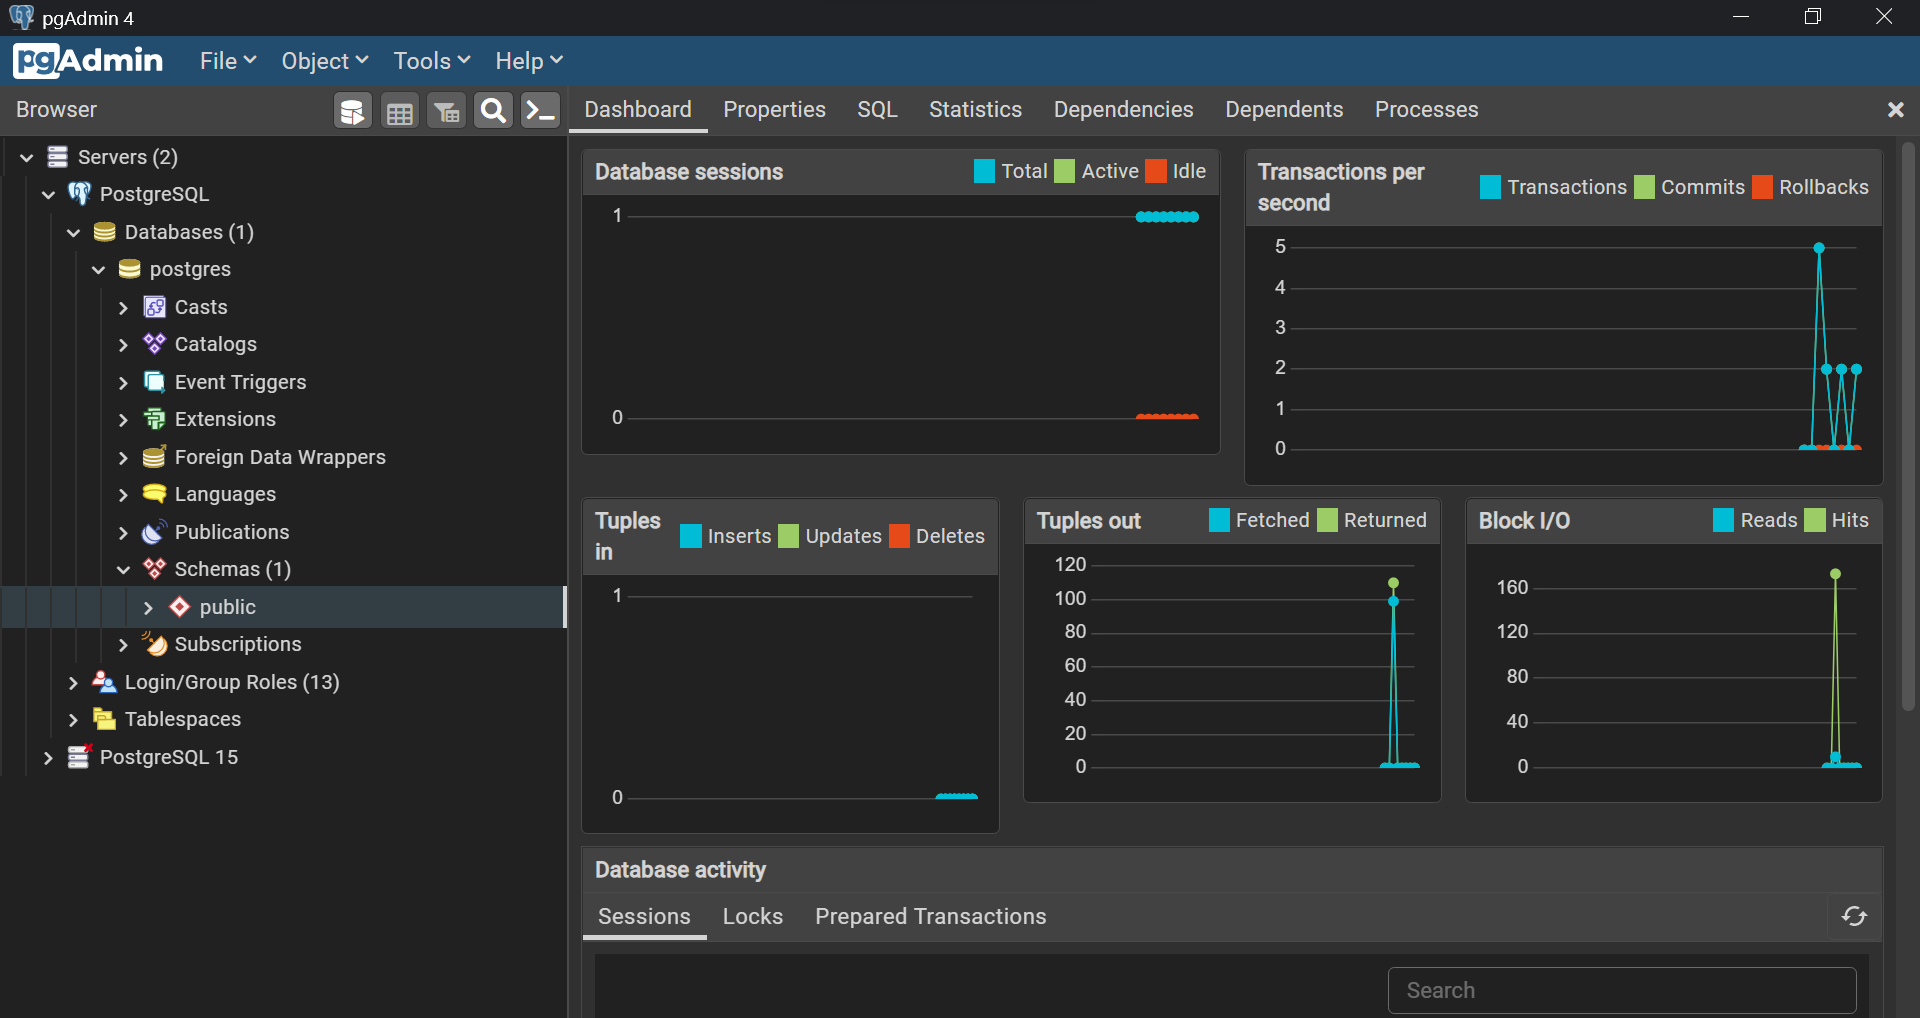
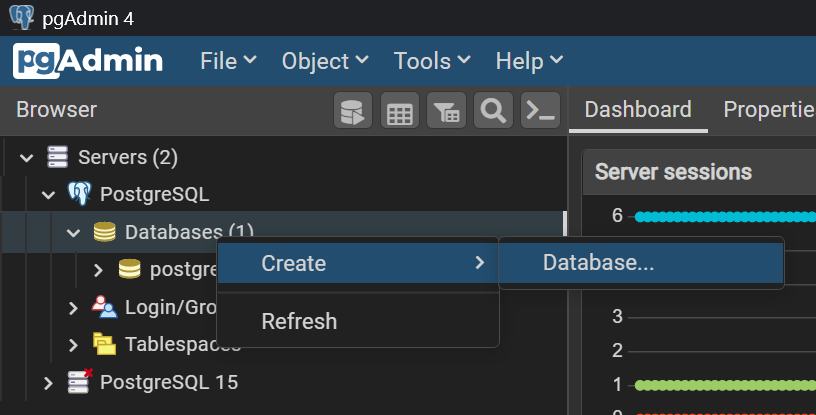
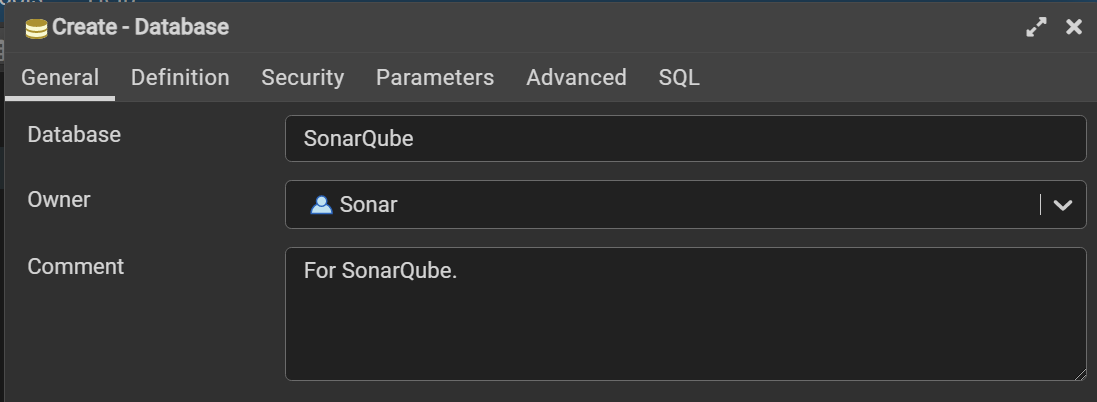
1.2.3.4 Create New Database
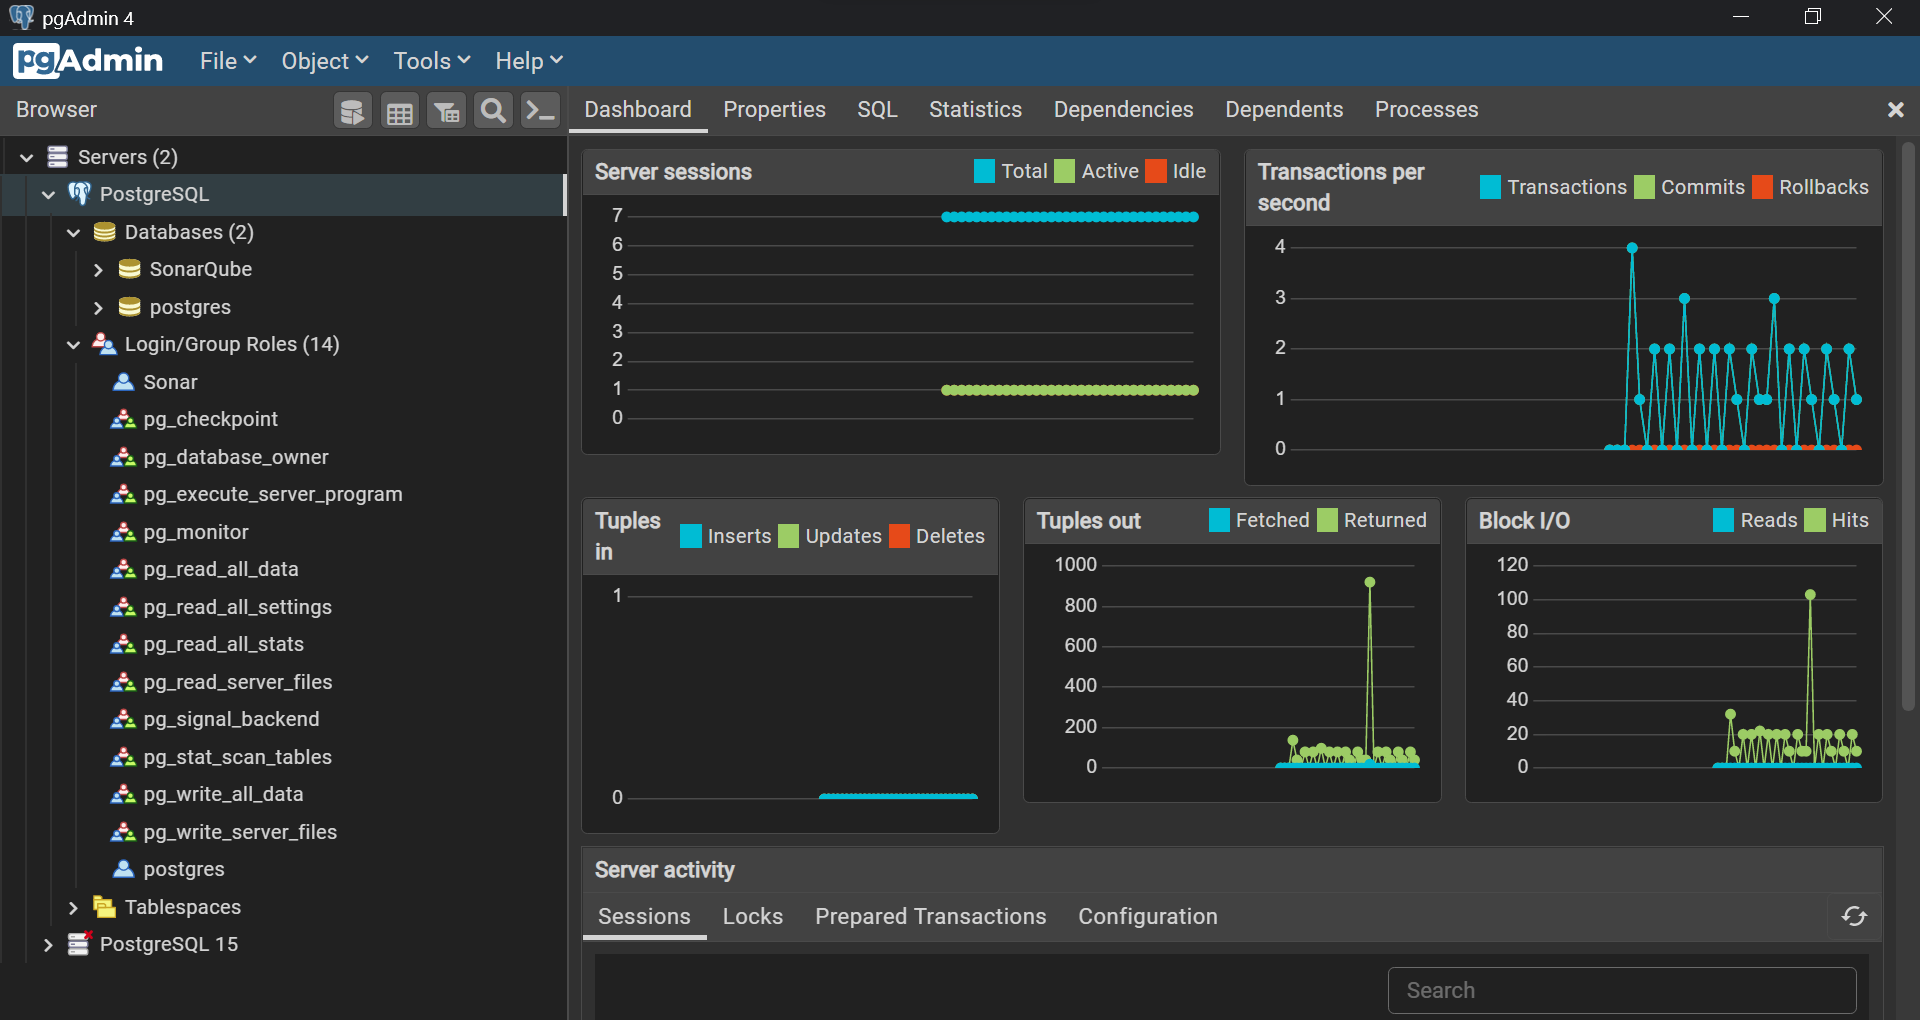
Now, we are all done, and your interface should look like this.
1.3 JDK 11
For more information, check https://blog.csdn.net/nikeylee/article/details/117410036.
1.3.1 Download JDK 11
- Download at https://www.oracle.com/java/technologies/downloads/#java11. Oracle account required.
Then, go to your installation directory, e.g. Java\jdk-11, run PowerShell as Administrator, and execute the command to download jre. You will see the folder after execution.
1 | bin\jlink.exe --module-path jmods --add-modules java.desktop --output jre |
1.3.2 Add Environment Variables
My jdk11 was installed at
E:\IDE\Java\jdk-11. By default, it should beC:\Program Files\Java\jdk-11.0.11. Replace it with your own.
Add the following system entry.
1 | JAVA_HOME = E:\IDE\Java\jdk-11 |
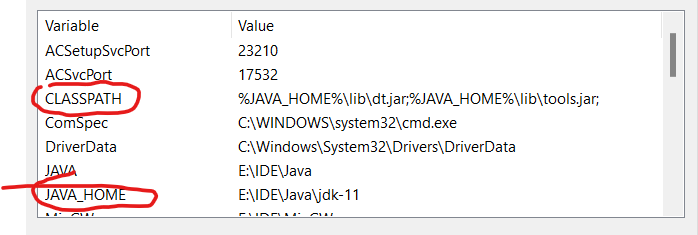
Then, add these two to system Path.
1 | %JAVA_HOME%\bin |
After these, you can check configuration by the following command.

Step.2 Configure SonarQube
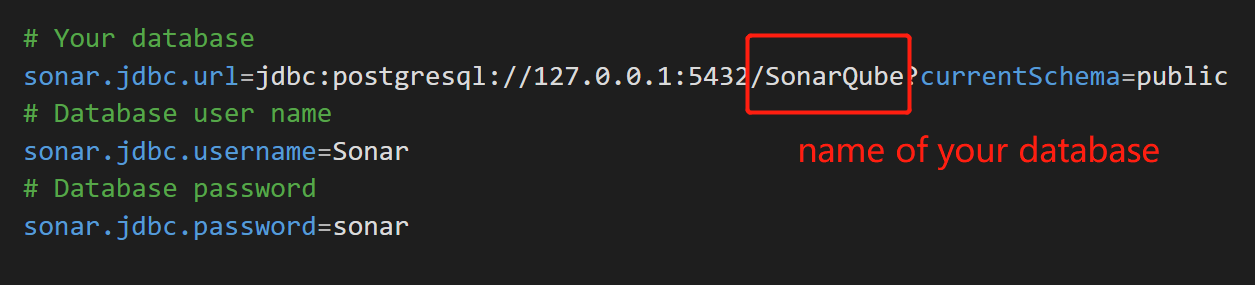
2.1 Add Configuration for SonarQube
Open Sonar\SonarQube\conf\sonar.properties, add the following content. SonarQube should be the name of the database you created. Replace these with your own info.
1 | # Your database |
2.2 Add Configuration for SonarScanner
Open E:\Gadgets\Sonar\SonarScanner\conf\sonar-scanner.properties, add the following content. Err… It seems that you just need to remove the comments.
1 | # ----- Default SonarQube server |
2.3 Add Configuration for Java Project
Now, we finally get a chance to see our Java project.
In your project directory, add new file sonar-project.properties.
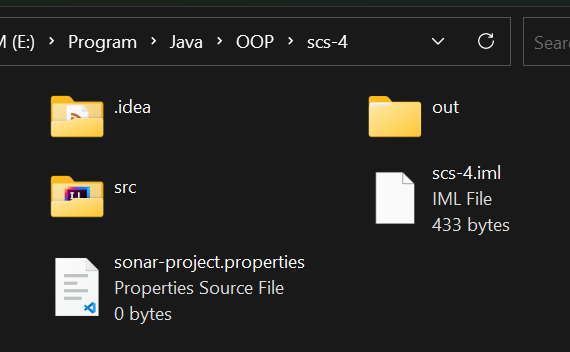
Then fill it with the following stuffs.
1 | # must be unique in a given SonarQube instance |
Now, you can assume that you successfully configured SonarQube.
Step.3 Launch SonarQube!
" Punch it! "
3.1 Start SonarQube
Go to SonarQube\bin\windows-x86-64\, and double-click StartSonar.bat. Or, if you want to see the output clearly, you can run it in a command prompt. Administrator privilege is required.

If every thing goes well, you can see this.
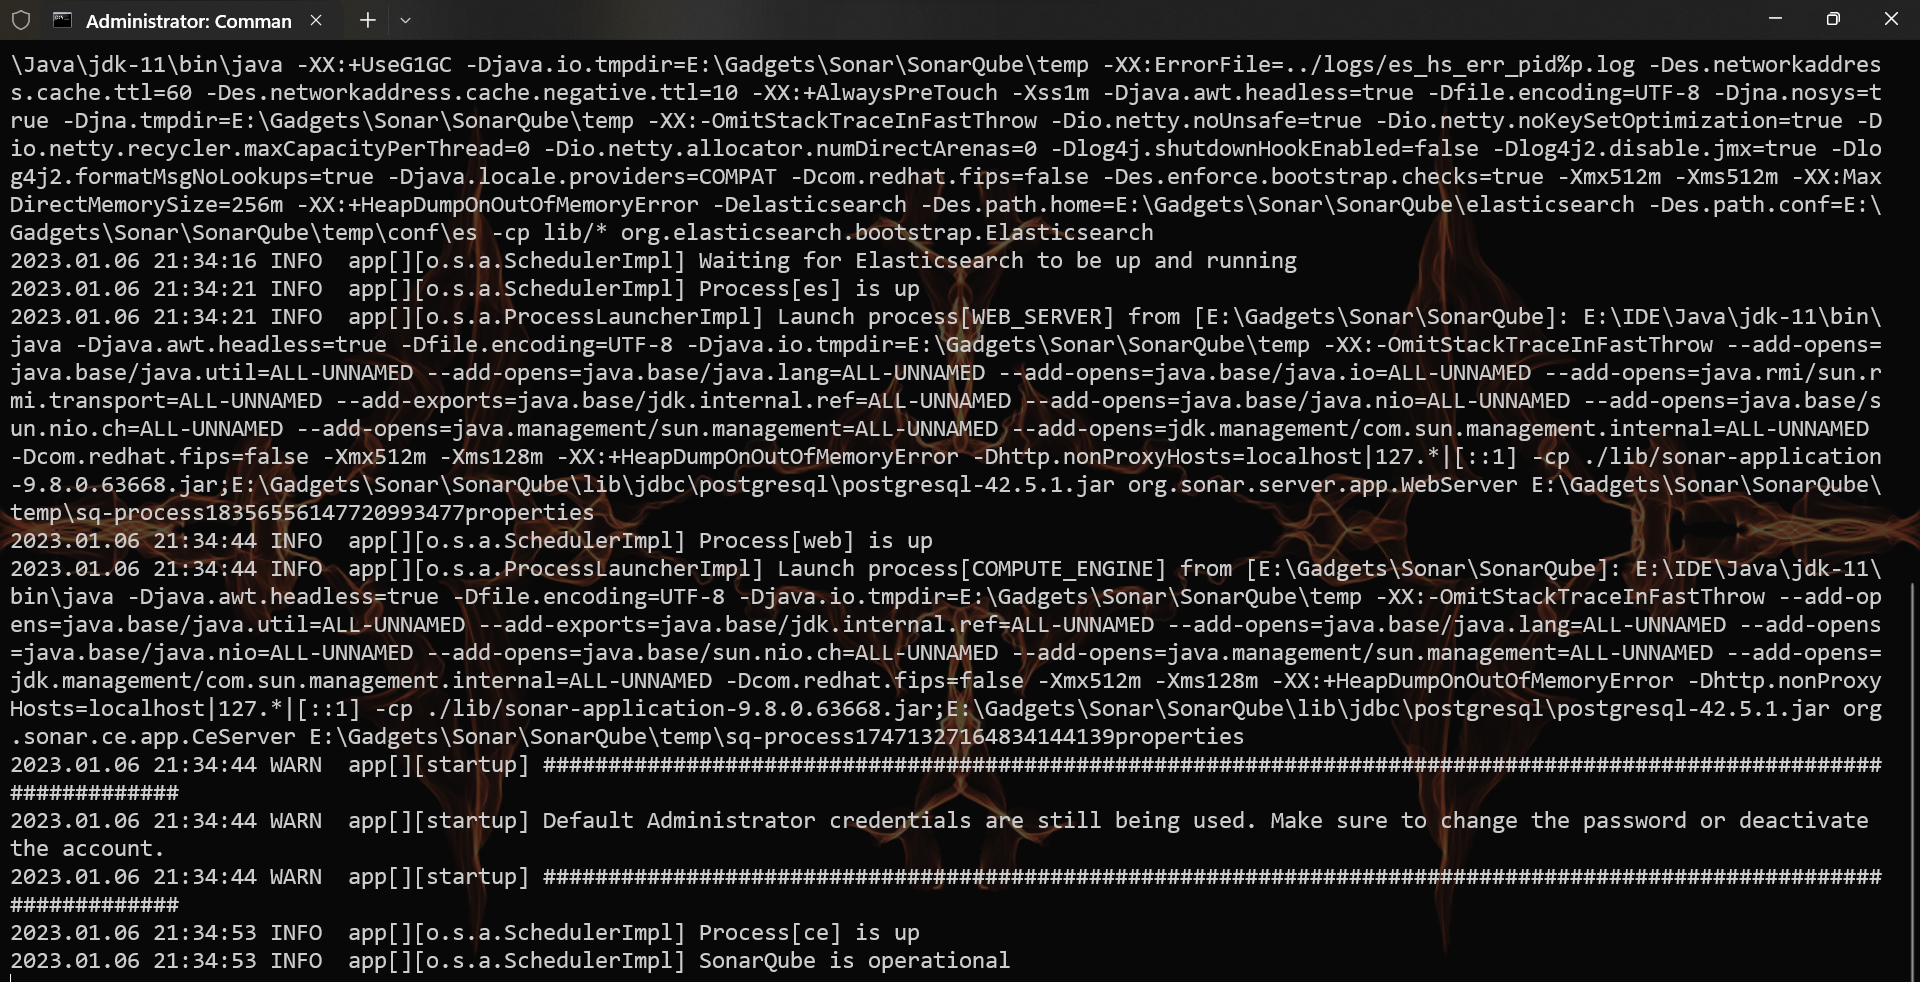
Operational! Isn’t it exciting?
Troubleshoot
You may not start it at the first time. Check log info in SonarQube\data\log\ for more information. Commonly found errors are as follows.
JDK 11 configuration incorrect. Must be JDK 11. See 1.3 JDK 11. This can be seen in log file.
SonarQube configuration file incorrect. Case sensitive!
For now, these are all that I encountered.
3.2 Visit SonarQube
Now, you can visit SonarQube local server at http://localhost:9000. Default username and password are both admin.
Then, you are forced to change password. After that, you are in and ready for analysis.
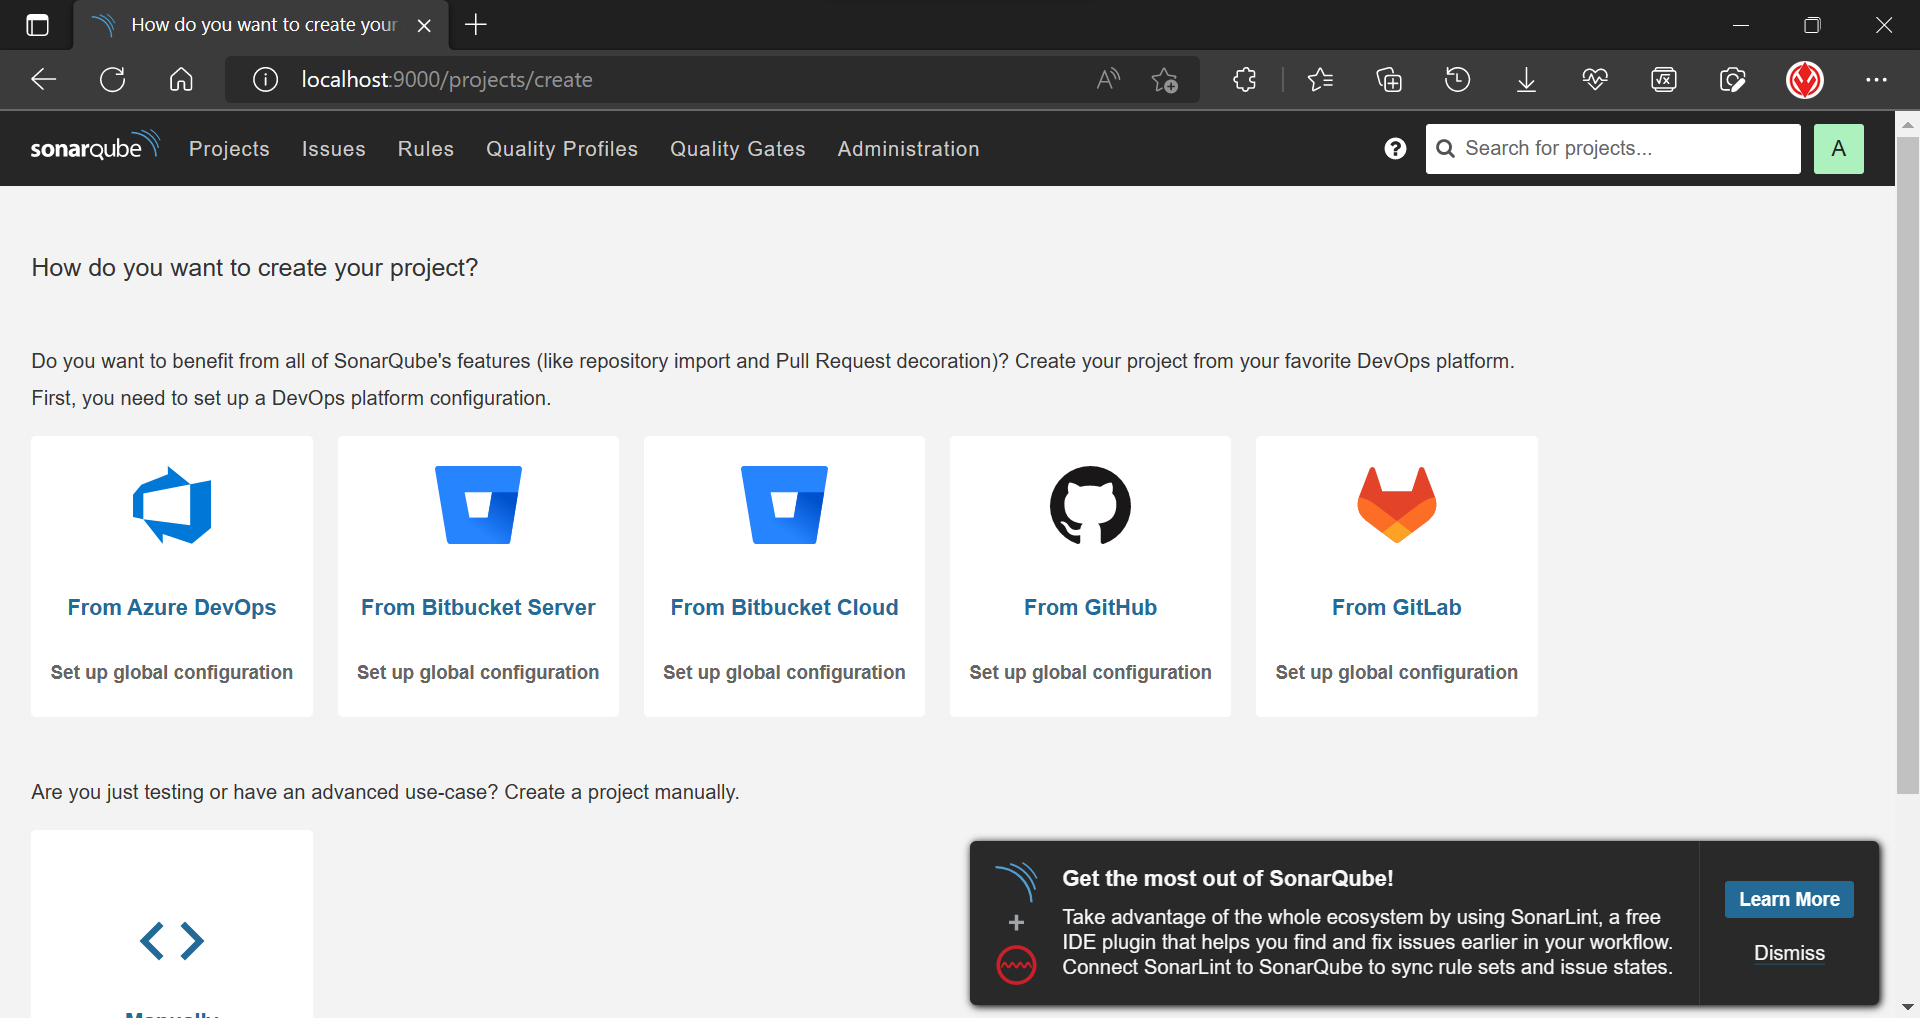
Step.4 Analysis Java Project
4.1 Run SonarScanner
At first, you can check your sonar-scanner version at any directory. If there’s any problem, you probably forget to add SonarScanner to environment. Go back and check 1.1 SonarQube & SonarScanner.

Once you want do the analysis, go to your Java project directory, in other words, the directory of your sonar-project.property file. If you don’t have this, go back to 2.3 Add Configuration for Java Project. Here, you should pay attention to these two properties.

sonar.loginandsonar.passwordare the username and password of SonarQube website, which is assigned in [3.2 Visit SonarQube](3.2 Visit SonarQube). If wrong, it will show

However, in later version, sonar.password is deprecated. It is preferred to use a token as sonar.login instead. You can generate a token for your project in your local SonarQube server.
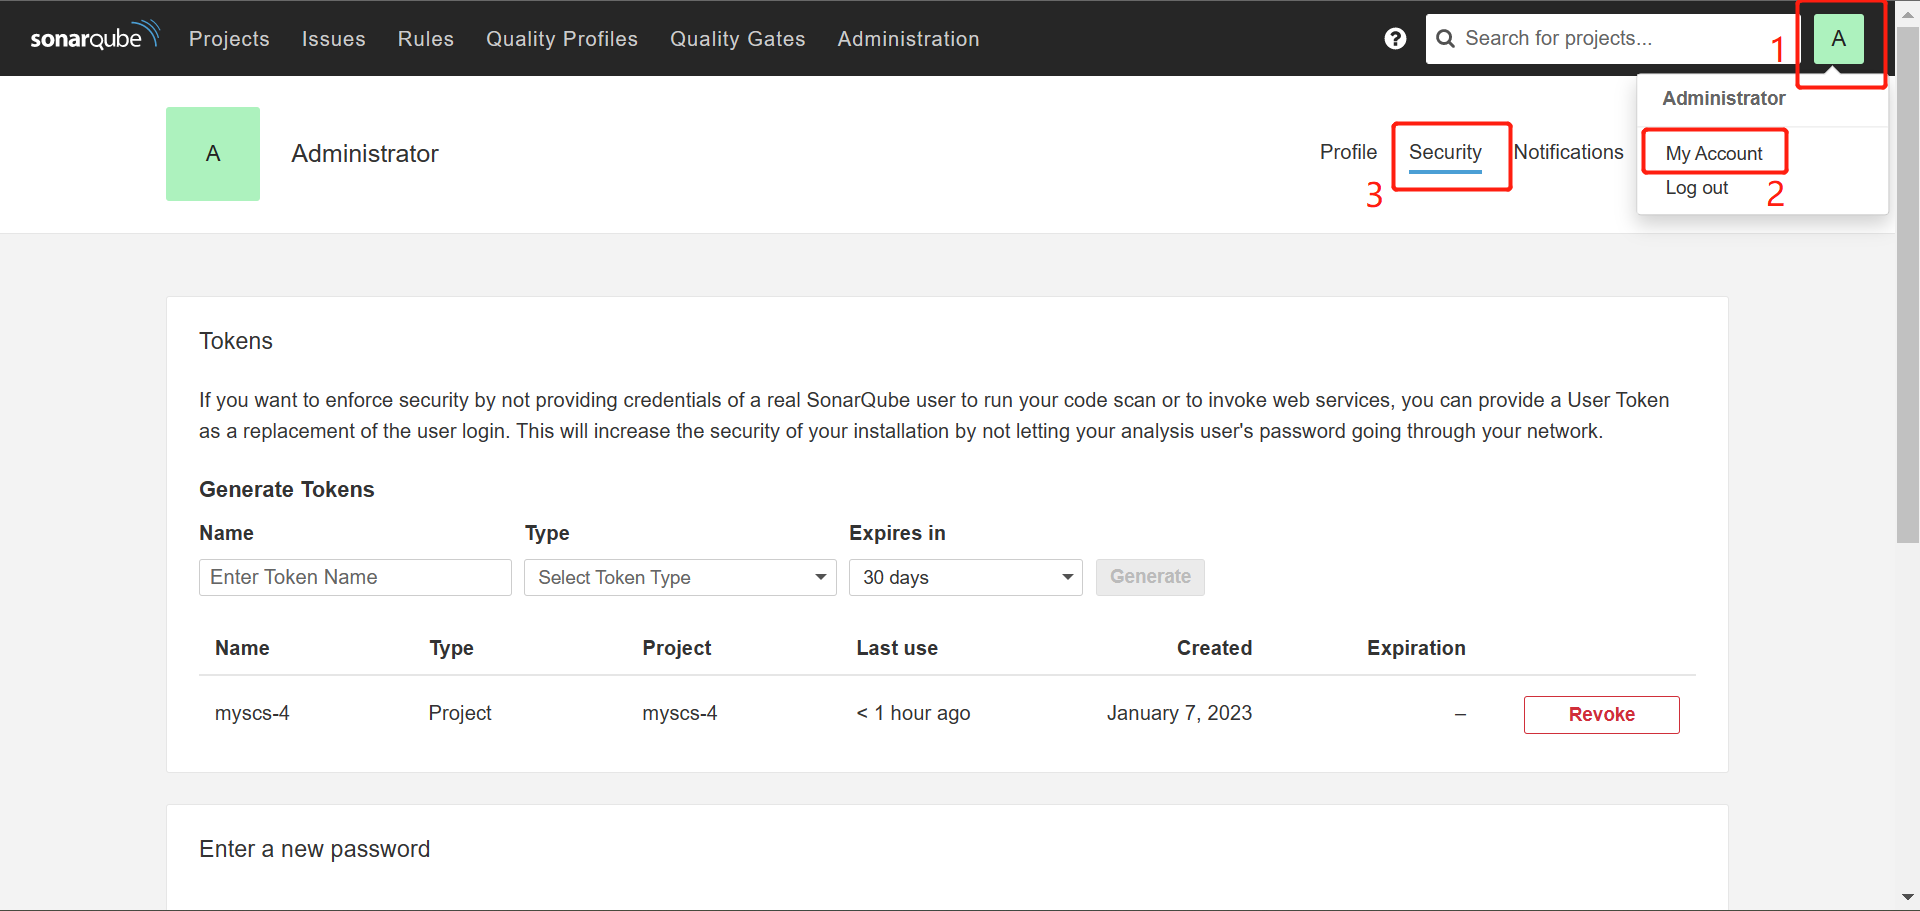
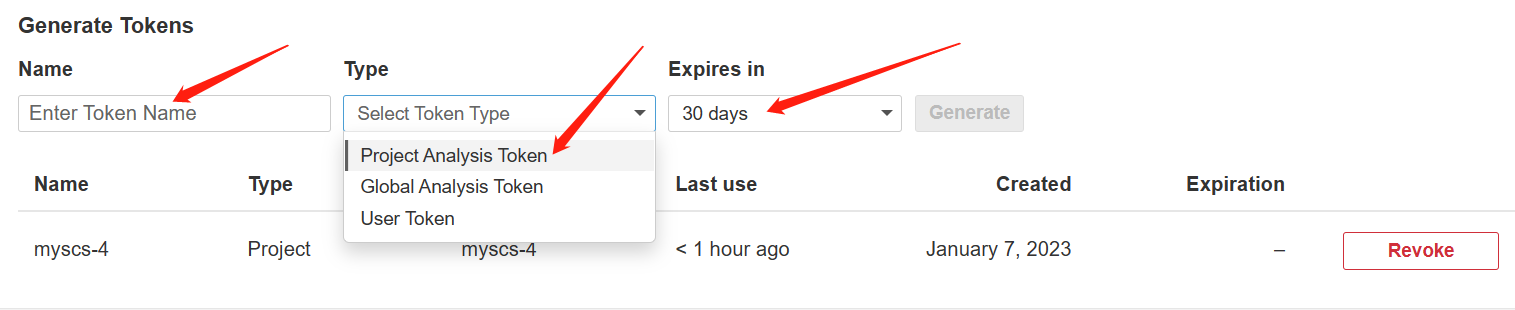
After generation, you’ll get a token, and you can use it as sonar.login parameter. Remember it, or you may not find it any where, any more. :(

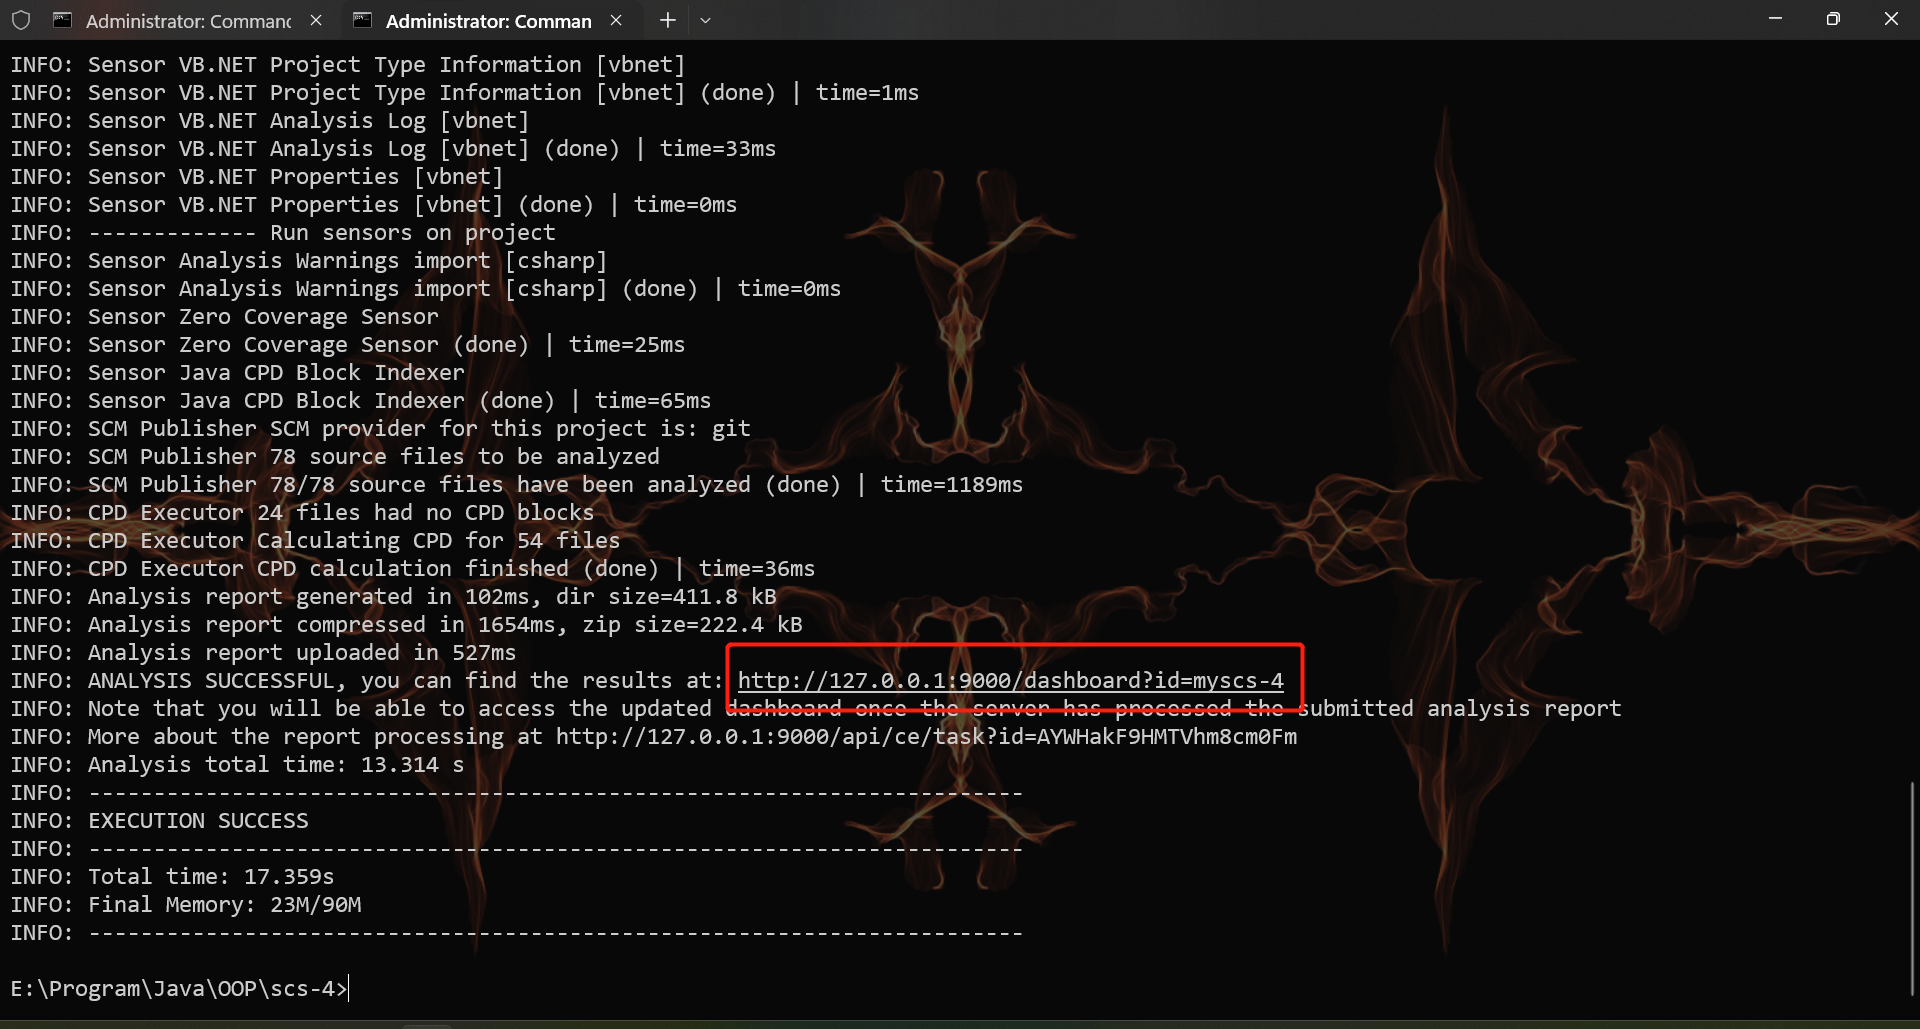
Now, simply enter sonar-scanner and Enter, then it will start scan. On success, you can see the following output, and your result will be stored at, err, I circled it.
4.2 Review Results
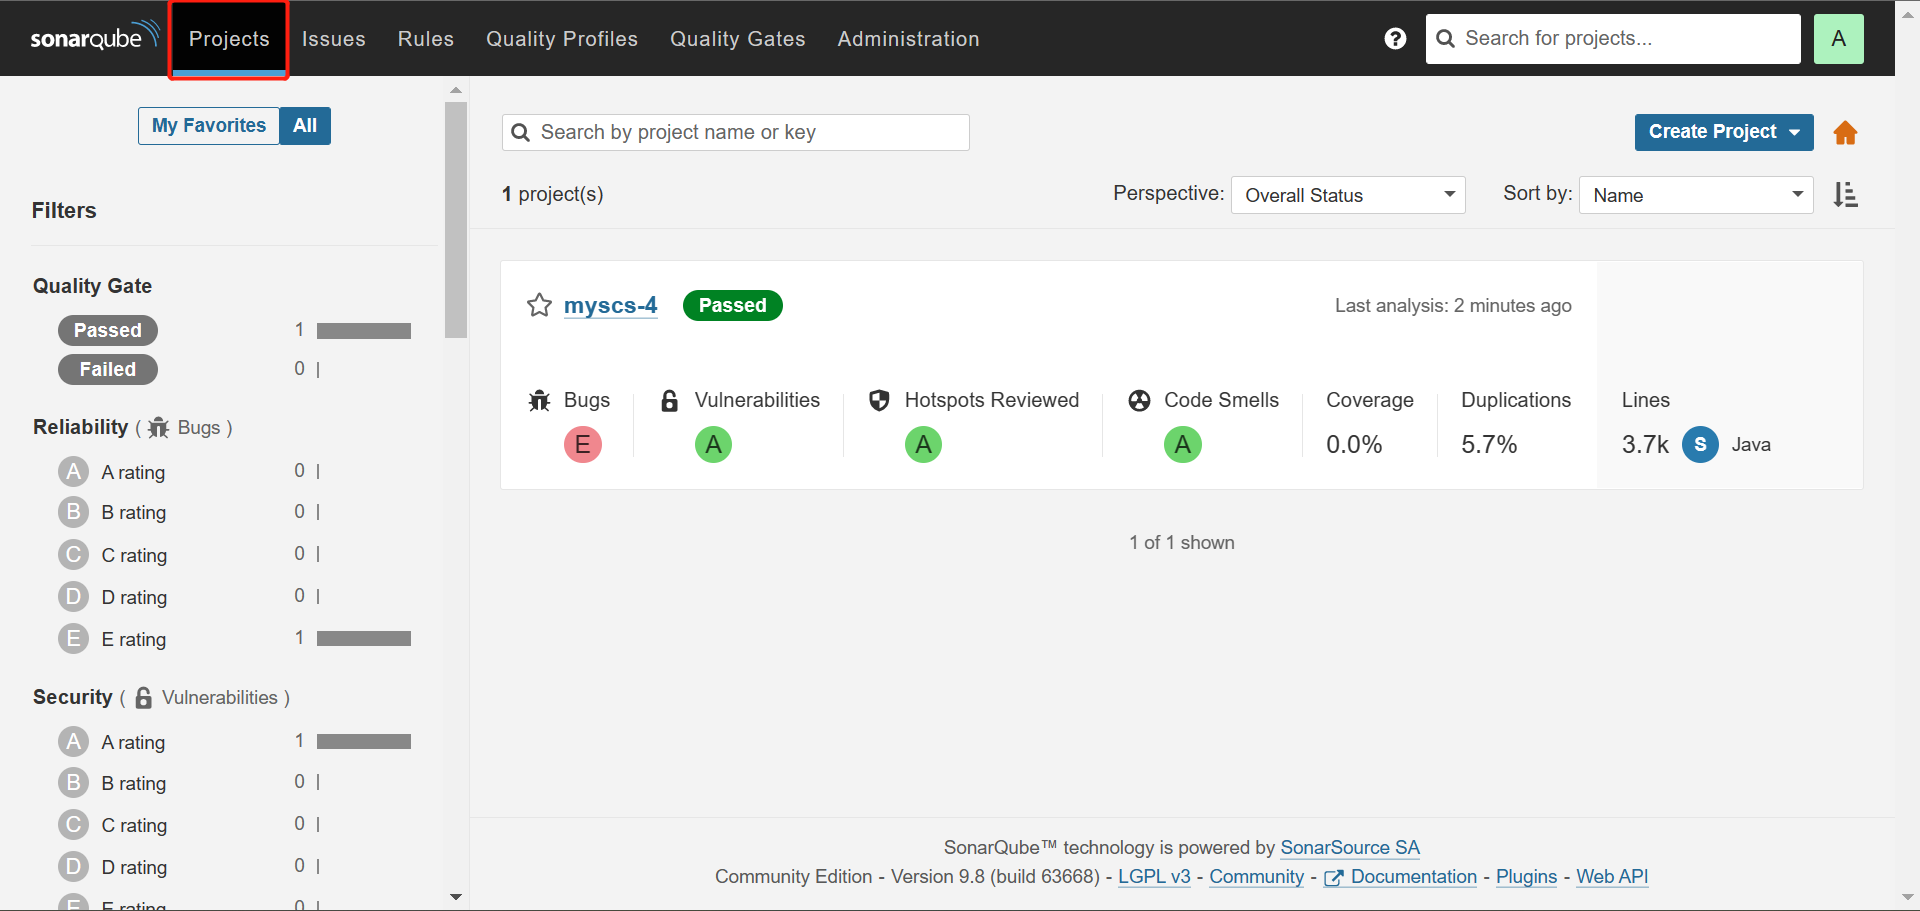
You can find your analysis in Projects page. Oh, so may bugs.
So, I guess, this is it, huh? See you later then! :)