Using WebSocket in Spring Boot
“Down once more to the dungeon of my black despair!
Down we plunge to the prison of my mind!
Down that path into darkness deep as hell!”
— THE PHANTOM OF THE OPERA
Prologue
WebSocket can be extremely useful for real-time interaction and messaging. Recently, I ran into Spring Boot, but few articles can give a demonstration I want, so that’s why I’m writing this.
Unlike regular RESTful API, WebSocket can be a little more tricky to use, especially when you want to send message actively from the server. That is to say, the server need to know its clients, instead of making replies when receives new message.
In this post, I’m going to show you the basic use of WebSocket by implementing a simple messaging API. When user triggers a RESTful API, we will then send a message via WebSocket. It may seem to be a little strange, but the point is to show how WebSocket can be integrated into other services.
We’ll working with IntelliJ IDEA Ultimate and Spring Boot 3.2.5.
All source code can be found at WebSocketDemo
1. Basic WebSocket in Spring Boot
Code for this part can be found at basic branch.
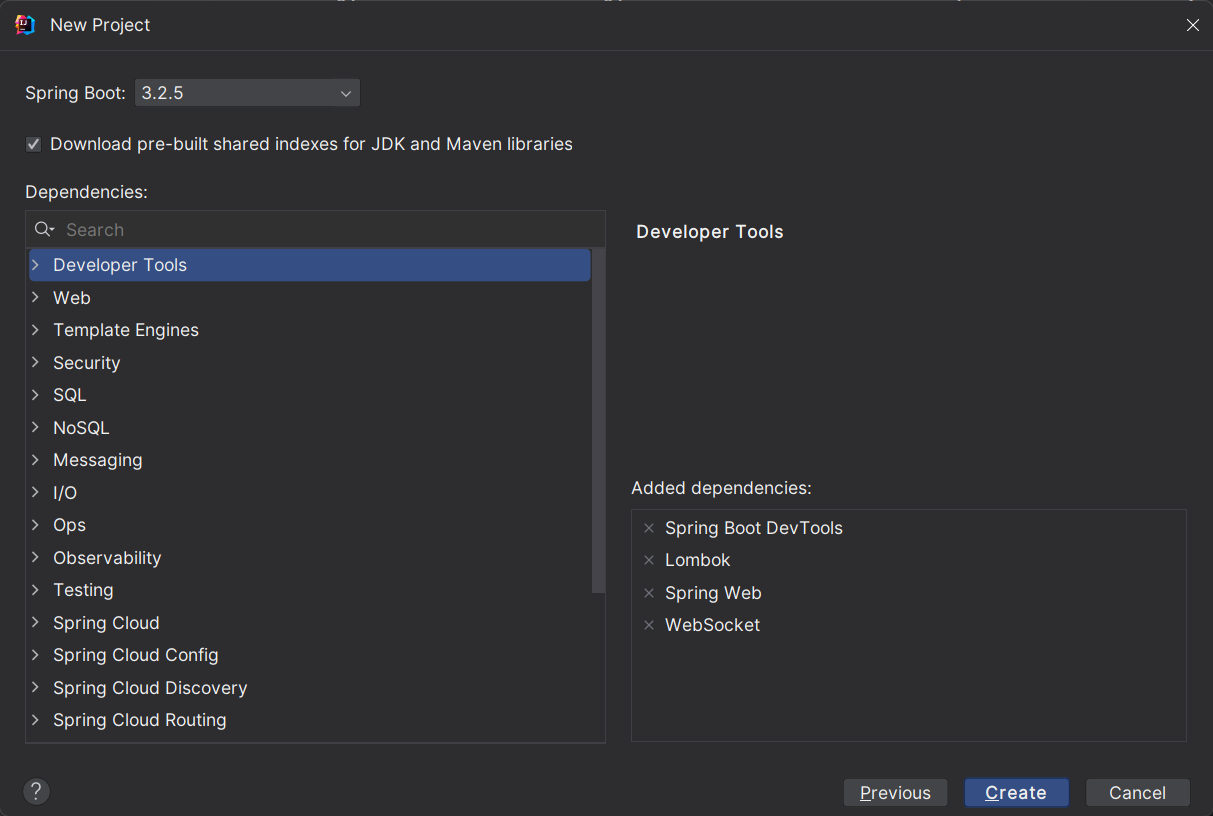
1.1 Create a new project
So first, open IDEA and create a new Spring Boot project.
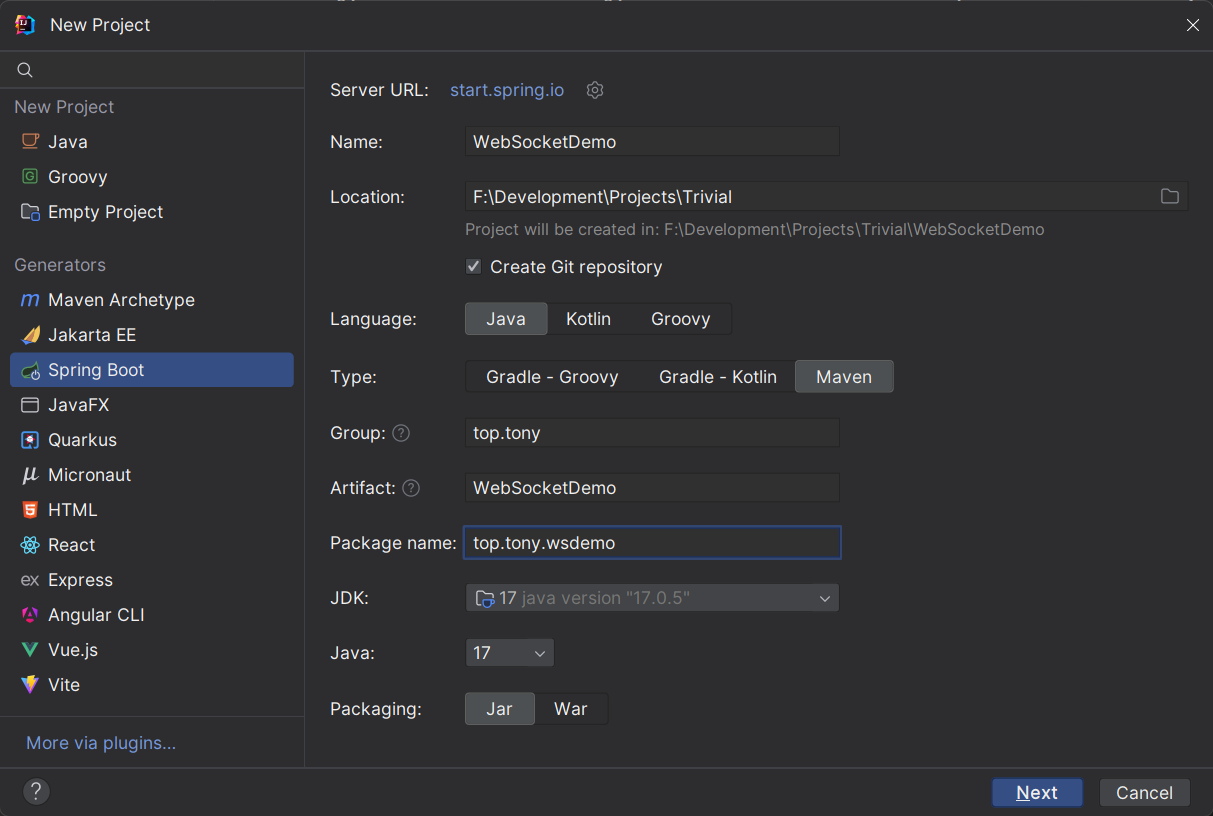
As we’ll only talk about WebSocket, we can select minimum dependencies.
1.2 Configure WebSocket
Spring Boot provides us a simple way to configure WebSocket using WebSocketConfigurer. For a WebSocket, we need an endpoint and a handler. Here, we map our WebSocket to /ws/{username}, so the complete URL would be ws://localhost/ws/{username}. {} means that it is a variable. And you may want to allow all origins to bypass the origin check, or you can specify few origins to restrict the access.
1 |
|
The WebSocketHandler is our custom handler, it will be invoked on all WebSocket events. There are two types of handlers, TextWebSocketHandler and BinaryWebSocketHandler. Usually, we just need to send JSON message using TextWebSocketHandler.
1.3 WebSocket Message Design
Different from RESTful API, WebSocket need some more configurations, so it would be a good choice to send all messages to one WebSocket connection. In this case, you have to assign different types to different messages so that the client can know how to handle them. For example, a good WebSocket message may look like this.
1 | { |
The data field may vary depending on its type. So based on this, we can design our WebSocketPayload as follows.
1 |
|
Notice that we use Jackson (ObjectWriter) to serialize our Java objects. And eventually, we need to convert it to TextMessage, which is used by TextWebSocketHandler.
1.4 WebSocket Handler
Now, we can finally reveal the WebSocket handler. Here we just need to extends TextWebSocketHandler, and override several important events.
1 |
|
Each WebSocket connection will have a corresponding WebSocketSession, which is automatically manage by Spring Boot.
Here, we parse the URI manually, which may not be a good practice. You may search for a better way to do this.😉
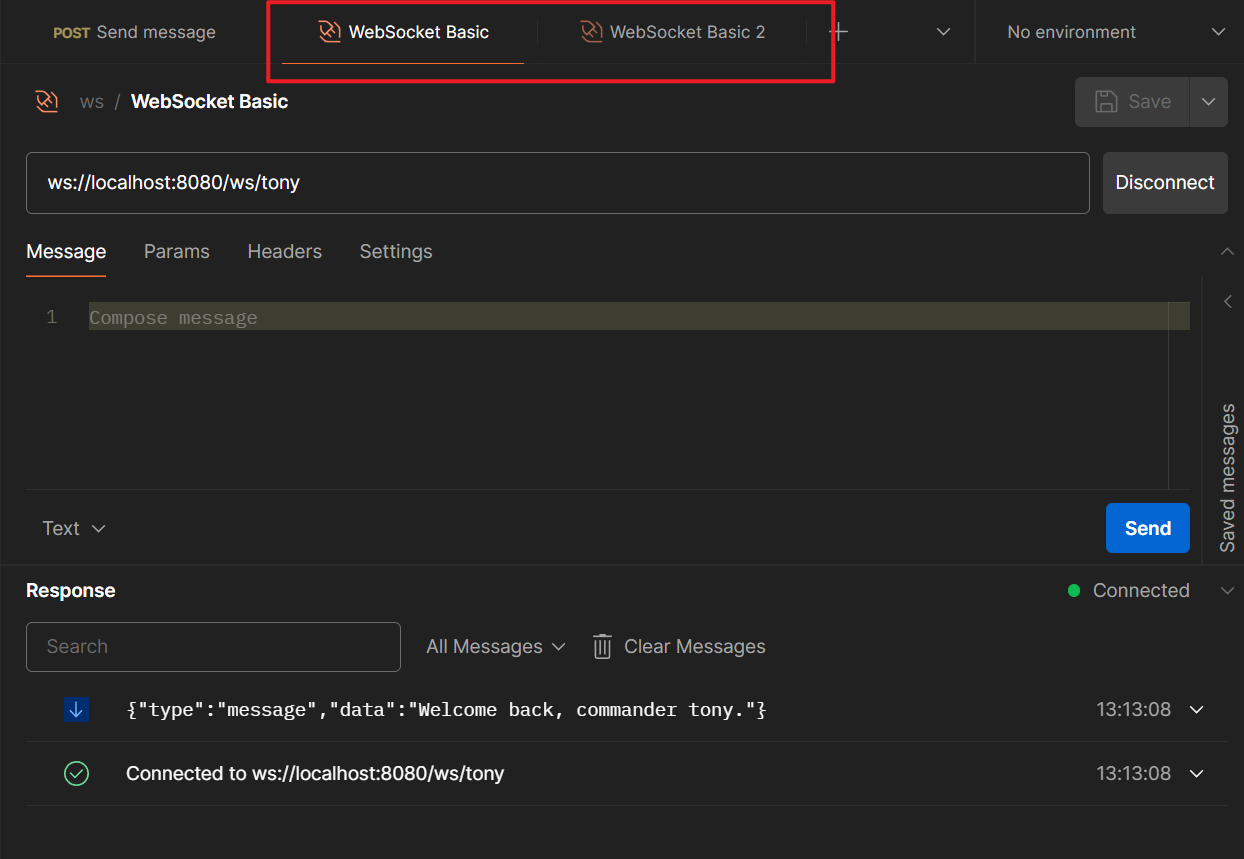
1.4 Testing
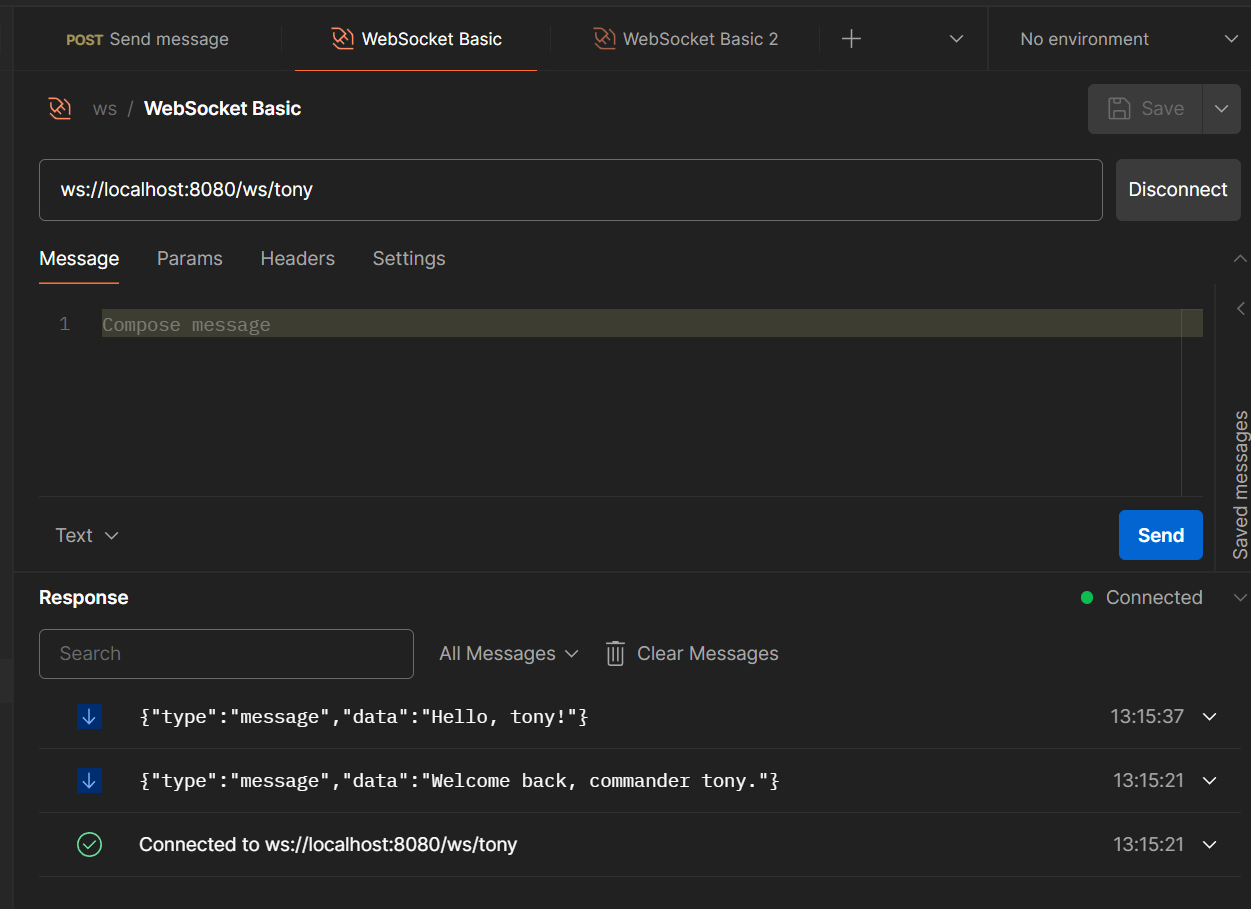
Now we have everything we need for a basic WebSocket connection, let’s test it in Postman, and of course, you can use your favorite tool.
First, launch our application in IDEA. By default, it should be running on port 8080, if not, check the logging. Then in Postman, create a new WebSocket connection, and start your connection! 😀

Tada, It works! 🎉
2. Sending Message to Specific Users
Code for this part is just in the main branch.
In the last section, we implemented the basic WebSocket to send message on receiving. However, in most cases, we just want to send message directly from the server without client action. Searched for Bing, Google but none of them provides a simple approach to it.
Here, I’ll provide you a simple way to achieve this, by remembering user’s session.
2.1 Session Service
In our WebSocket handler, we use WebSocketSession to send messages to clients. It is managed by Spring Boot, but if we remember them and their corresponding user, we can later use them to send messages directly.
So to do this, we need a session service to remember the mapping from session to username.
1 |
|
Why using session to username, not username to session? That is because, one user may have multiple WebSocket session, e.g. more than one tabs in the browser. Thus we need to send message to all sessions of a user. Of course, you can use username to session set mapping, but it would be a little hard to remove the session that way.
2.2 Save WebSocket Session
Now that we have the session service, we can save the relation in our handler. Following is what you need to add in the handler.
1 |
|
By the way, constructor injection is a better practice than using @AutoWired.
2.3 Send WebSocket Message Anywhere
Finally, we can send message to any user, any where we want, as long as you have WebSocketSessionService injected and a target username. Here let’s demonstrate this using a controller.
1 |
|
Now, when user send a request to /api/send/{username}, we will respond with a WebSocket message.
2.4 Testing
So first, connect to the WebSocket in Postman. To simulate multiple connection, we can duplicate the WebSocket and open two tabs.
Then, we can trigger the REST API.
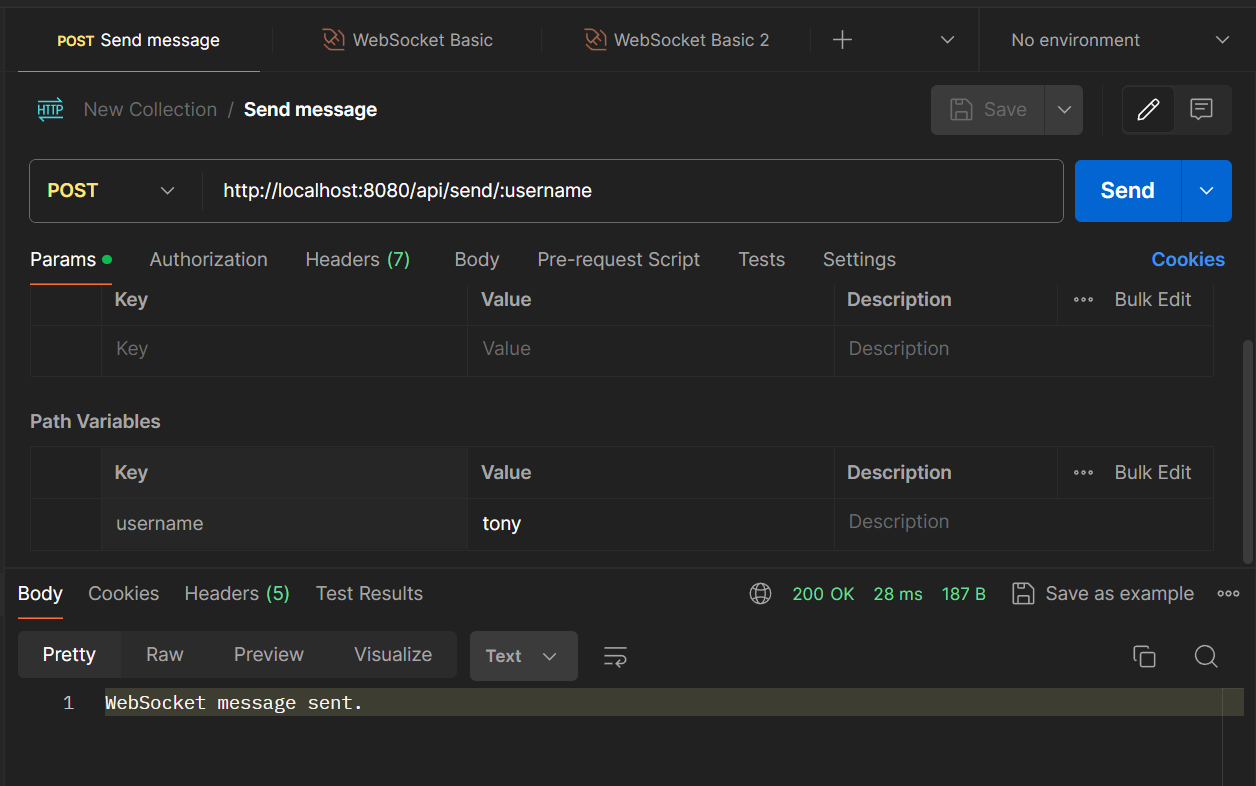
Little trick, you can use :param to declare path variables in Postman.
And as we expected, both connection received the message. 😀
3. Troubleshoot
If you are a careful programmer, you may notice some warnings prompted by IDEA. It doesn’t matter, but it’s just annoyed to see the highlighting.
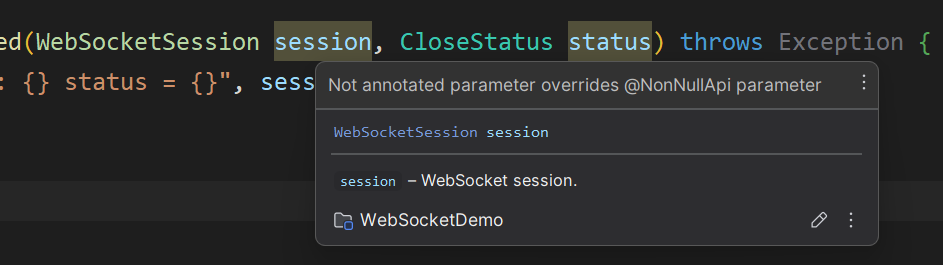
To solve this warning, create a package-info.java, and add @NonNullApi annotation to it.
1 |
|
Epilogue
To be honest, I don’t really like Java. The syntax, naming convention, duh. Not like my lovely C#, let alone my favorite C++. But, Spring Boot is indeed, a good Web framework. Perhaps not good as ASP.NET Core. Anyway, it is all about WebSocket in Spring Boot, and good luck, have fun. ᓚᘏᗢ